Highly recommended. Very fun survival horror game with some puzzle solving. The game is about 4 hours long. Nice story with multi-endings. Complete step by step walkthrough below.
1F Part 1
After the cutscene, you will find yourself in the house 1F with 2 other people.
Interact with all the glowing thing around you.
After cutscene, go right. Press Z on the pentagram to save.
Go up and enter the room on the right (Kitchen). Interact with the chef twice and answer his questions. The answers are on a bookshelf in the room to the left.
Q1.错 Q2.对 Q3.错
Pick up the (DISH/餐盘) on the table.
Go to the room on the Left, pick up a (WOODEN KEY/木制钥匙) from the bed.
Leave the room, go down to the locked door and open it with the (WOODEN KEY/木制钥匙).
Use the (DISH/餐盘) on the table.
Press X -> Inventory/物品 -> 餐盘
You can also use 手电筒 to turn on Flashlight.
The Chef will appear to attack you. Escape to 2F.
2F Part 1
After the cutscene, go up the stairs to 2F Right Corridor (2F右侧走廊). Continue left to 2F Left Corridor (2F左侧走廊), interact with the red arrow.
In 2F Library (2F图书馆), obtain a (STRANGE PICTURE/奇怪的图片) and a (CROWBAR/撬棍).
Return to 2F Right Corridor (2F右侧走廊), enter the room opposite of the pentagram: 2F Restroom (2F 休息室). Enter the door on the right. The chest the requires a 4-digit code. Read the (STRANGE PICTURE/奇怪的图片).
Code: 3956
Pick up (COLORFUL KEY/五颜六色的钥匙) from the chest.
Return to 2F Right Corridor (2F右侧走廊), open the first door from the left with (COLORFUL KEY/五颜六色的钥匙). Speak to the blue doll, she will ask who broke the glass bottle?
Answer: 小紫
She will then tell you:
顺时针转三圈
大姐。快来和我玩抓迷藏啦。
Go to the closet.
When in danger, hide in the closet.
After leaving the closet, escape to the next room: 2F Bathroom (2F浴室). Hide inside the crack on the wall until the girl is gone. Pick up (BUTTLER'S ROOM KEY/管家房间的钥匙).
Locate the drain in the red pool and use the (CROWBAR/撬棍). Pick up (ARMOR ROOM KEY/铠甲之间的钥匙) from the pool.
Go to 2F Left Corridor (2F左侧走廊), across the wall with the red arrow is 3 doors. Interact with the door on the left to use (ARMOR ROOM KEY/铠甲之间的钥匙). You will find 4 statues with different colors. Push the statues to the buttons and pull the trigger. Tips provided: Black is the first on the left.
Answer: BLACK RED WHITE YELLOW
Obtain the (RECEPTION ROOM/接待室的钥匙).
Enter the door next to the Armor Room using the (RECEPTION ROOM KEY/接待室的钥匙). Continue up to find a room where you need to push obstacles. Obtain (BALCONY KEY/阳台钥匙) from the glowing light. Return to 2F Left Corridor (2F左侧走廊) to find the other guy you met earlier and obtain (1F STAIR KEY/1F楼梯门钥匙).
From the 2F Left Corridor (2F左侧走廊), go to the top left to enter the Left Balcony (2F左侧阳台). You should see a lighted candle. Interact with the rocks next to the candle to obtain (SILVER GEAR/银色齿轮).
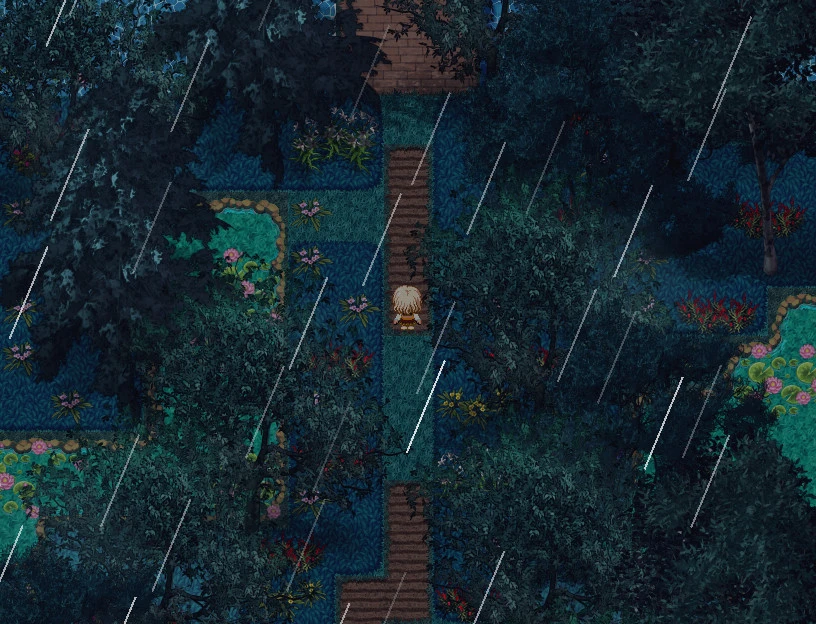
Continue going up to 1F Garden (1F 花园). Explore the simple maze to find an (OIL LAMP/油灯) on a pile of bone. Reach the end to obtain (RIGHT-HALF EMBLEM/史蒂芬家族右半徽章).
Enter the passage to B1 Tunnel (B1地下通路), then exit to 1F左侧走廊.
1F Part 2
Enter the room next to the pentagram: 1F Reception (1F 接待室). There is a gramophone. Use (SILVER GEAR/银色齿轮) on it. Turn on the gramophone. Interact with the glowing light. Go to 2F Butler's Room.
Read the manual on the table about Solution X-BM4.
It will mention the ingredients are:
20ml R-BM1试剂 (红色)
10ml G-BM2试剂 (绿色)
10ml B-BM3试剂 (蓝色)
Obtain 3 containers: 30ml容器A, 30ml容器B and 70ml容器C.
There are a few NPC in some of the room previously visited you can interact with.
Go back to 1F Left Corridor (1F左侧走廊) and enter the room closest to the stairs: 1F Toilet (1F 卫生间). Interact with the basket with bottles.
要使用试剂瓶进行调和吗?Start mixing?
是 Yes
否 No
查看调和规则 Check manual
试剂(试剂瓶倒入容器) ADD solution into container
试剂(容器)倒入容器 MIX solution from container to container
试剂(容器)倒入水池 DISCARD solution from container
确认容器中的试剂成分 Check solution
取消 cancel
You need to get the exact amount of 20ml R, 10ml G and 10ml B solutions in one container.
For the 10ml G-BM2 and 10ml B-BM3
70 - 30 - 30 = 10ml
Mix both the 10ml solution in one of the 30ml container.
For R-BM1
70 - 30 - 30 = 10ml R-BM1
Mix into the container containing the 20ml G and B solutions.
70 - 30 - 30 = 10ml R-BM1
Mix everything together in the 70ml container.
After obtaining the X-BM4试剂, return to 1F Left Corridor (1F左侧走廊).
Go right and use X-BM4试剂 on a door to enter 1F Gallery (1F画廊). Interact with the glowing light to obtain a puzzle piece.
When leaving you will be attacked. Escape to the bathroom in 2F. Use the bucket of holy water to kill the ghost. Pick up another puzzle piece.
Return to 1F Gallery (1F画廊) and insert the puzzle pieces.
Return to 1F Reception (1F 接待室) and interact with the picture to switch character to Reid 雷德.
Go back to 1F Gallery and pick up a puzzle piece. Solve the puzzle on the table.
After solving the puzzle, insert the final puzzle piece into the puzzle.
Switch back to the girl and return to 1F Left Corridor (1F左侧走廊). Southwest of the pentagram is a new path. Obtain the (RIGHT-HALF EMBLEM/史蒂芬家族左半徽章). Open inventory and use the half emblem to obtain the (COMPLETE EMBLEM/完整的史蒂芬家族徽章).
Return to 2F Left Corridor (2F左侧走廊), open the door at the bottom right using the complete emblem to enter 3F Church (3F教会).
Go to the room on the left: 3F Master Room (3F馆主之间) to read papers about Morse Code.
Continue going left to 3F Master Bedroom (3F馆主卧室). The locked box requires a 6-digit code. Solve the puzzle of the morse code.
Answer:
W+H, CxF, C+L
Code = 382713
Obtain (TREASURE KEY/宝库钥匙) from the locked box. Return to 3F Church (3F教会)
Go right into 3F Corridor (3F走廊). Enter the first door: 3F Master Room 2 (3F 馆主之间2), and interact with the glowing light.
Return to 3F Corridor and enter the next room: Treasure House (宝藏屋).
Go down, pull the switch and escape.
Interact with a button with red arrow to remove some spike traps.
Continue escape until you see a glowing light. Interact with it to pick up an (INVINCIBILITY POTION/无敌药水).
Continue running up until you see a switch.
Use the (INVINCIBILITY POTION/无敌药水) then interact with the switch.
Obtain (BASEMENT KEY/地下层的钥匙)
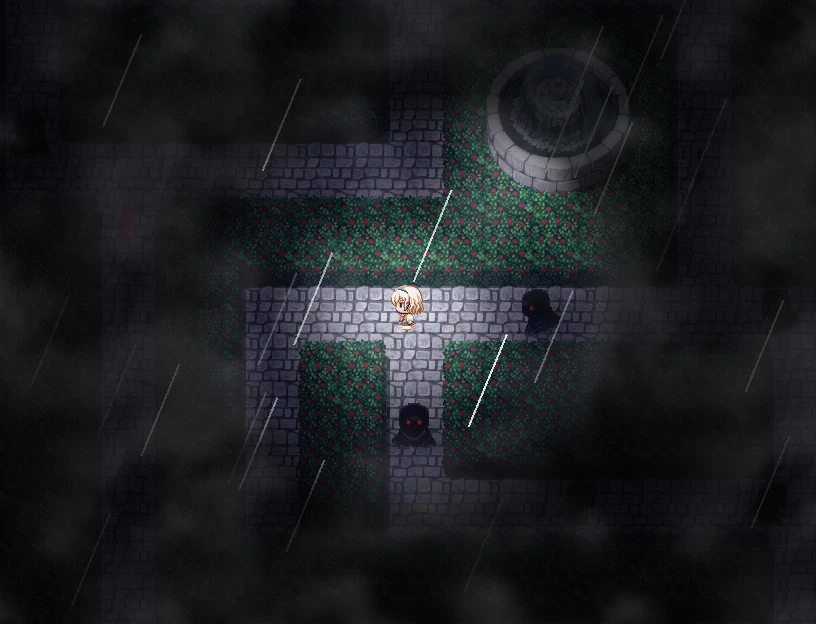
After cutscene, go to B1 Tunnel (B1地下通路) and open the door with red arrow next the pentagram. Go down to B1 Underground Prison (B1地下监狱)
At the end of the prison is room B2 地下研究所 with a locked door that requires a 2-digit code.
Pick up 4 skulls:
One under a prison bed
One is invisible, in the middle of a room with a pipe (behind a prison cell)
One is on the table in B2 地下研究所
One is in the B2大墓地 bone pile
Place them on the cross pattern in B2大墓地 to open a room
Pick up (SOLVENT/实验用溶剂).
Go to B2 地下研究所. Use (SOLVENT/实验用溶剂) on the wall the mirror is facing.
Four letters on the wall can be seen from the mirror. Use this to figure out the code.
Code: 98
After unlocking door, obtain the (FINAL AREA KEY/最终禁地的钥匙) from the table.
Escape from the monster. Tips: Jail doors can be open or closed.
Return to B1 Tunnel (B1地下通路), open a door using the (FINAL AREA KEY/最终禁地的钥匙).
Avoid the enemies. Keep going until you find a (SHOVEL/铲子), save at the nearby pentagram.
Endings
**Make an extra save in another slot if you are interested in the endings.
Use the SHOVEL on a nearby wall. Enter the hole.
The girl will collapse. After that she will decide whether to:
继续前进 Proceed
原地等待 Wait
This will decide the ending story.
Whichever you choose, enter the Final Area (最终禁地) and interact with the person on the floor to start the final boss battle. Lure the boss to the place with many holes and pull the spike trap switch.
After the cutscene, damage the boss with bombs a few times. Congratulation you have cleared the game.
ENDING 1 Proceed继续前进
Very short sad end.
ENDING 2 Wait原地等待
Longer ending. Happy end.